Mega Man Dual Override 3-Area Stage Structure
Why every Robot Master route is now three short sprints and a finale, and how to pace each one.
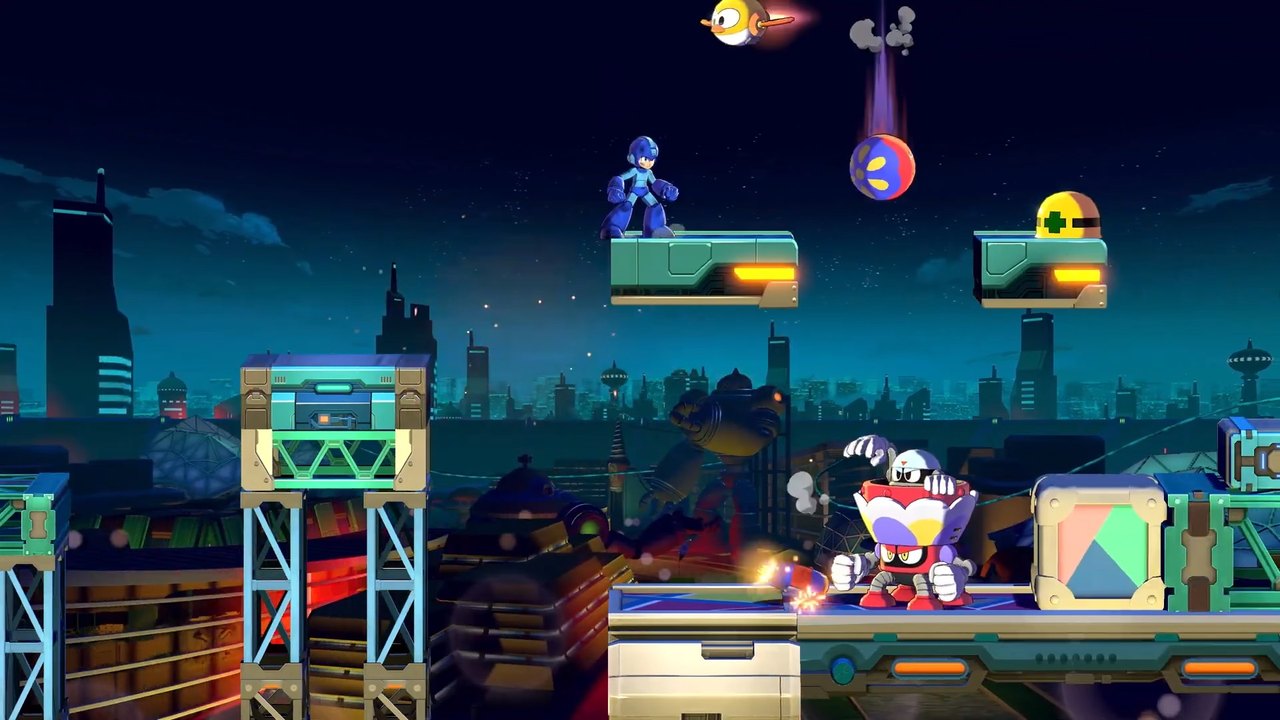
Mega Man Dual Override splits every Robot Master route into three shorter areas. That is the most important structural change in the 2027 campaign. If you understand the cadence, you will plan Override timing, E-Tank spending, and chip rotation correctly from the first portrait. If you do not, you will waste Override in a hallway and pay the hangover before the boss.
This page is the pacing primer. Read it next to Getting Started for the campaign loop, Beat Twinkle Girl for the one route Capcom has shown end-to-end, and Boss Order for how the three-area template changes boss order as a concept.
The 3-area template at a glance
Capcom confirmed the template in Gamescom 2026 coverage. Each Robot Master route follows the same shape:
- Area 1 — Giant enemy. A new mid-boss designed for the stage, usually simpler than the Robot Master waiting at the end. Twinkle Girl’s Area 1 used Big Press Don, a crushing platformer test that the buster handled on default settings.
- Area 2 — R-replica Robot Master. A returning boss from an earlier Mega Man, marked with the R suffix. Twinkle Girl’s Area 2 used Astro Man R, a Mega Man 8 carry-over with new attacks on top of the original pattern.
- Area 3 — The new Robot Master. The portrait boss of the route. Twinkle Girl herself was the Area 3 boss, the fireworks entertainer chasing the main stage.
The German livestream Capcom hosted the same week ranked the three slices: Area 1 is the easiest, Area 2 steps up in difficulty, Area 3 is the hardest. That ordering matters for planning, because Override timing and chip rotation are most efficient when you match them to the local difficulty.
Why three areas instead of one
Classic Mega Man from 2 onward used a single long stage per Robot Master, with a checkpoint or two and a boss at the end. Dual Override’s three-area structure is not just a pacing experiment. It changes three things that matter for strategy:
- More bosses per route. Each Robot Master route now contains three distinct encounters: the giant, the replica, and the new boss. The game sells eight portraits and ships twenty-four encounters if the template holds for every portrait.
- Natural save points. The shorter runs let Capcom drop checkpointing between areas. You do not have to replay the entire stage after a boss death.
- A built-in difficulty curve. Area 1 is the warm-up, Area 2 is the history exam, Area 3 is the new exam. The game escalates inside the same route instead of front-loading difficulty into the boss door.
The replica in Area 2 also creates a deliberate mid-stage spike. Even veterans who recognise the pattern need to learn the new attacks. New players who do not recognise Astro Man still get a fair boss with a clear weakness loop.
How to pace each area
A simple read of the demo footage lines up with the German livestream’s ranking. Spend your strongest tools on the highest-difficulty area you are about to enter.
Area 1: walk, learn, save
The Area 1 giant is meant to teach the stage’s verticality, hazards, and chip presets. Override in Area 1 is almost always wasteful, because the boss is short and the buster often clears it. Save Override for later.
Use Area 1 to confirm:
- Which chip preset you brought matches the room. The Survival preset carried an E-Tank for a reason. The Attack preset carried Double Charge Shot for a reason.
- Where the Bolts sit. The collectibles guide explains the per-area Bolt cadence.
- Whether your Custom Action input lines up with how you actually want to use chips. The controls guide covers button layout.
A clean Area 1 is the cheapest way to bank Override for Area 3.
Area 2: respect the replica
The replica is where the campaign punishes careless players. Astro Man R used the buster for area control and added new projectiles. Custom Chips mattered more here than raw Override damage, because chip effects like the barrier shield and Rush Coil can soak a pattern you do not fully recognise yet.
The right spend:
- Spend chips on Area 2 if you brought them. A well-timed Rush Coil or barrier out-values a panic Override.
- Use Override only if you have already banked enough gauge and you know the replica’s weakness.
- Treat the E-Tank as a reserve. If you saved E-Tanks from Area 1 — you should — this is the room where one of them buys a clean clear.
The Beat Twinkle Girl guide gives the route Astro Man R uses in that specific stage. The general lesson: Area 2 is the boss the route respects the most.
Area 3: spend everything you saved
Area 3 is the new Robot Master. Twinkle Girl was called a glass cannon by previewers — fast, low HP, but tricky until you learn her pattern. Override is the right spend here, especially on the phase change. Final Charge Shot deletes her last bar in most preview clips.
Spends to plan for:
- A full Override bar, ideally the three-stock maximum.
- The Custom Action you saved for the finale. Chip presets like Attack package Double Charge Shot for this moment.
- The second E-Tank if your first one saved you in Area 2.
If you are short on Override gauge, the Override system page explains when boss Override patterns let you bank faster.
What this means for boss order
The 3-area template changes what boss order means in 2027. Order is no longer only about which portrait you fight first. It is also about how many Area 2 replicas you stack before you have learned all the relevant history. If every portrait follows the template, you can roughly sequence yourself like this:
- Clear two early portraits to learn the chip presets and the Override timing on Area 1 giants and Area 2 replicas.
- Use the next two portraits to test chip variety and Override timing on Area 3 bosses.
- Save the last four portraits for when your chip rotation and Override timing are muscle memory.
The Boss Order page treats this as the recommended planning habit. When Capcom names the other seven Robot Masters, that page will absorb the route-by-route weakness chart. This page is about cadence, not weakness.
What Capcom has not confirmed
- Whether every Robot Master route follows the 3-area template. Twinkle Girl is the only one Capcom has shown publicly.
- Whether Area 1 is always a giant enemy. The pattern holds for the Twinkle Girl demo but not for unnamed portraits.
- Whether the R-replica in Area 2 rotates through Mega Man 1 to 11, or whether Capcom will skip overused picks.
- Whether Area 3 always uses Override phase changes. Twinkle Girl did, but boss Override triggers are boss-specific.
If 2027 ships with a different shape, this page will be rewritten. Until then, the honest read is: plan around three short areas, with the replica as the spike and the new Robot Master as the finale. Pair it with Custom Chips for what to bring, Override for how to spend it, and Boss Order for how to sequence the routes.
For the press reaction to this template, read Previews. For the team that designed it, read Title and interviews.
Frequently Asked Questions
Quick answers pulled from Capcom's 2026 previews and official notes.
How many areas does each Robot Master route have?
Three. Each route has a giant-enemy Area 1, an R-replica Area 2 from an older Mega Man, and the new Robot Master at the end of Area 3.
Which area is hardest in Dual Override?
Area 3 is the new Robot Master and the hardest slice. Area 2 is the replica and the mid-route spike. Area 1 is the warm-up giant. Capcom ranked them in this order in the German livestream.
Should I use Override in Area 1?
Almost never. Override is wasteful on the giant when you want to bank it for Area 3. Spend chips and buster basics in Area 1, save Override for Area 3.
Is the R-replica the same boss every route?
Unconfirmed. Twinkle Girl's Area 2 used Astro Man R. Other portraits may rotate in other classic bosses. The Robot Masters page tracks confirmed R-replicas.
Where do checkpoints sit in a 3-area route?
Capcom has not published exact checkpoint locations. The shorter areas let checkpoints sit between them, so a boss death should not force a full stage replay.